 I wanted to share a novel approach my family recently used for our Halloween Party. In this quick tutorial, you’ll learn how to use Instagram as the main communication channel for planning your next party. It was easy to use, quick to complete, and something new and fresh for those invited.
Why Instagram?
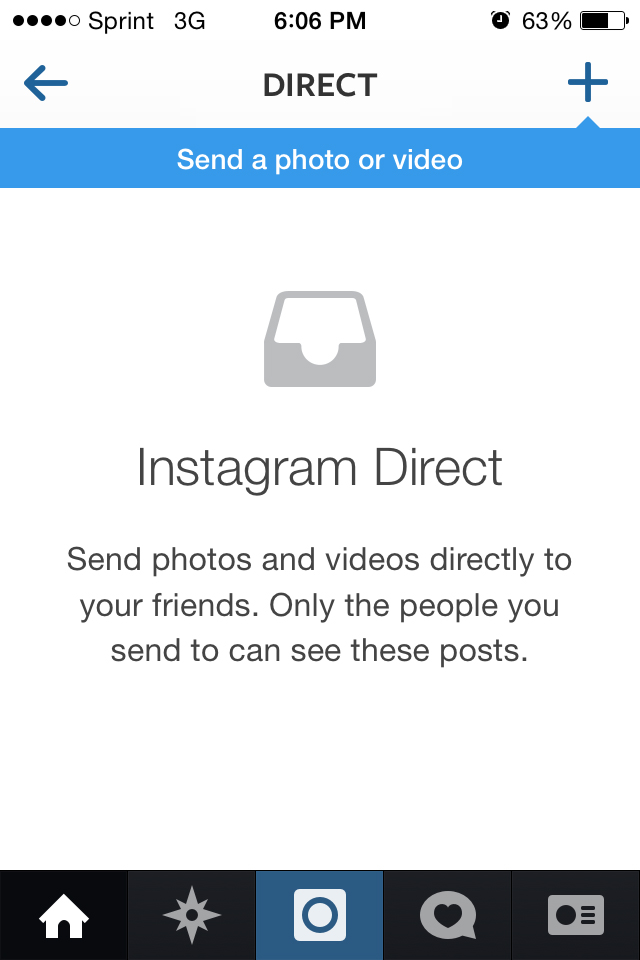
It’s important to leverage existing tools and social media channels whenever you can as they provide built in networks that have been established over time. Instagram Direct allows you to quickly and efficiently send a beautiful image to a select group of friends with information related to your upcoming extravaganza!
The tool is simple to use and provides an easy, and fun, way for your friends to be engaged.
No longer do you have to go to a third party provider like evite where you need to import email addresses over and over and over. Nor do you have to use stale and boring email messages as your core communication platform.
Using Instagram Direct allows you to simply post an image…just like you do all day long!
By the end of this tutorial, you’ll know how to find an engaging picture to use as your invite and exactly how to edit it for maximum impact. You’ll also learn how to use that image as your direct message invitation to your core group of friends.
Sound exciting? Let’s go!
Step-by-Step Directions to Get Your Party Started!
Step 1: Find your Invitation Image
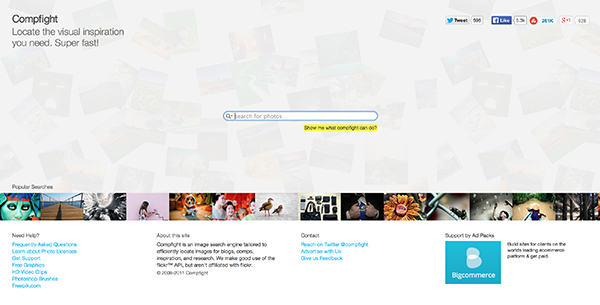
First thing you need to do is find that image that will immediately capture the attention of your friends, colleagues, or clients. The easiest way to do this is to head over to a site like compfight.com and do a search. Use the keyword or theme of your party to start browsing through thousands of free images.
TIP: Be careful, as there are a number of images that are offered at a price. Just look for the Creative Commons license and those not from one of the big providers like iStockphoto, ShutterStock, or others.
TIP 2: Make sure you pick an image where you have space for text. Don’t pick something that is too busy or too colorful. You’ll want space available on the image so you can put all of the details you need to provide to your guests.
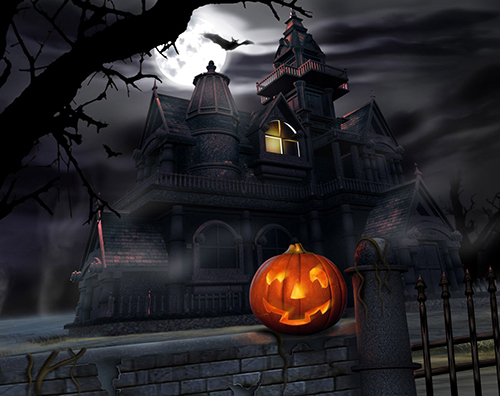
In our case, we were planning a Halloween party, so here is the base image we downloaded directly from compfight.com.
As you can see, there is ample space for text to be placed for all the details related to the party. It’s engaging, high quality, and the best part – FREE!
Now that you’ve found your image, save it to your computer and get ready to edit.
Step 2: Edit the Invitation Image with Event Details
Now, pick your favorite image editing software and let your creative juices flow. Don’t go too crazy with the design though as you’ll want to have enough space for all of the text you want to put on the image.
My personal choice for a quick Instagram image is PicMonkey. They provide Instagram templates and often have themes available that reflect the season of the party. For the example in this tutorial, there were a bunch of Halloween themes that added some flavor to our invite.
TIP: Make sure you have at least the following details
– Event Date
– Event Time (start and end)
– Location
– Contact email, phone number, or SOMETHING and how they should RSVP (texting the RSVP works really well these days)
These data elements may seem obvious, but you’d be surprised how many people forget some of the most important details. I can’t tell you how many times I’ve received an invite and the address is not even listed!
TIP 2: If you want some help with your image editing, I have a Pixlr tutorial HERE. You can also reach out to me and I’d be more than happy to help.
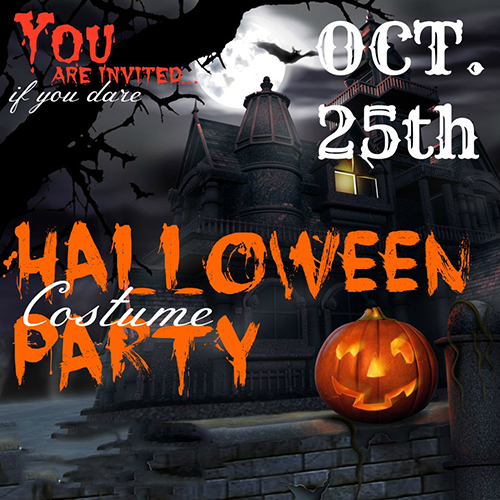
Take a look at the final product. Again, all edits were done using the FREE tool PicMonkey. The image we found on compfight was resized for Instagram (square) and edited to text with party particulars. Not too shabby, eh?
Step 3: Save the Invite to Your Computer
Most online image editors allow you to ultimately save the image to your computer. If you use PicMonkey, Canva, or Pixlr you’ll be able to easily save the image. Keeping a local copy allows you to choose how and when you distribute your invite. You get the keep control!
TIP: You should save the image as a .jpg as it is the image standard of choice when it comes to interoperability.
Step 4: Send the Image to Your Smartphone
There are applications that will allow you to do Instagram Direct via your computer, but let’s keep it simple and just use your phone.
Since you’ll be using the Instagram app as your distribution method, you’ll need to get the image over to your phone. There are many ways to do this. For the purposes of this tutorial, just send the photo to yourself via email. Easy-Breezy!
Here are the high level steps (I’m assuming you know how to do these steps as they are pretty basic. If you have any issues or questions, feel free to reach out to me at jeffstephens@crazydadlife.com and let me know).
1. Open up your email client
2. Compose a new message
3. Use your own email address as the recipient
4. Enter “I’m so cool” in the subject line (why not?)
5. Attach the image
6. Send
Step 5: Save the Image to your Smart Phone
Now that you’ve emailed it to yourself, you simply need to save it to your device so you can send via the Instagram app. Again, these are pretty basic steps so I’m going to believe that you know how to do these.
1. Open up the mail client on your phone
2. Select the message from that awesome person you know so well (yourself!)
3. Select the image
4. Save the image
5. Close your mail client (no need to reply to yourself)
Step 6: Post the Invitation Image as a Direct Message on Instagram
You are ready to send your awesome invite to your friends. Remember, this is just for a select group of people. You do not want to put it out there publicly and suddenly have a massive party going on at your house
1. Open up Instagram and look up in the top right corner of the screen. You’ll see a mail tray icon. Click that and that will start the process for sending your direct message.
2. Select your image that you just created and saved to your phone.
3. Add any fancy filters you may want, although you should’ve done all of your creative pieces when editing online.
4. Add a caption if you want. For example, if you didn’t put a lot of detail on the image itself, you could use the caption for this information.
5. Select the people you want to invite, and click on the SEND button on the bottom of the screen.
That’s it!
Now, sit back and await all of the adulation from your friends as you impress them with your social media bad-assery!
Additional tidbits
Here are a few other items to note as you start your planning.
– Instagram currently only allows you to invite 15 people at a time. You can always rinse and repeat with the steps above to select your next group of recipients though.
– You’ll be able to see who has opened and viewed your direct message as well as who has liked it. This gives you real time tracking of who might be attending and who doesn’t even know it exists.
– For more direct help from Instagram, head over to their help page for Instagram Direct.
Have you ever used Instagram to organize a party, a meetup, or a simple get together with friends? Share your thoughts or experience below.
Leave a Reply